FoneDog Screen Recorder
FoneDog Screen Recorder
Special Offer
Special Offer


By Nathan E. Malpass, Last updated: April 28, 2024
In the ever-evolving symphony of technological innovation, Apple's devices have taken center stage, becoming integral parts of our lives. Picture this: you're immersed in the enchanting world of your favorite music on your iPhone, but suddenly, the desire to amplify your auditory experience strikes. The solution? Your iPad – with its larger canvas and immersive sound quality, it's the ideal stage for your musical ensemble.
Yet, the challenge arises: how do you effortlessly transfer iPhone music to iPad? Fear not, after all transferring between two iOS is easier than transferring music from an iOS to an Android. for in this guide, we unveil the virtuoso methods that allow you to seamlessly sync your cherished tunes from your iPhone to your iPad.
So, tune in as we unravel the melody of possibilities and make your musical migration a harmonious endeavor.
Part #1: Runner-Up Methods to Transfer iPhone Music to iPadPart #2: Transfer iPhone Music to iPad Using FoneDog Phone TransferConclusion
In the realm of Apple's ecosystem, where devices harmonize like notes in a symphony, AirDrop emerges as a virtuoso technique to transfer your cherished iPhone music to your iPad. This wireless marvel allows for seamless file sharing between compatible devices, ensuring your music migration hits all the right notes.
Pros:
Cons:
In the grand concert of music migration, AirDrop performs like a sonata, offering a swift and graceful way to synchronize your iPhone's harmonies onto your iPad's stage. However, for those seeking alternative melodies, the crescendo continues with
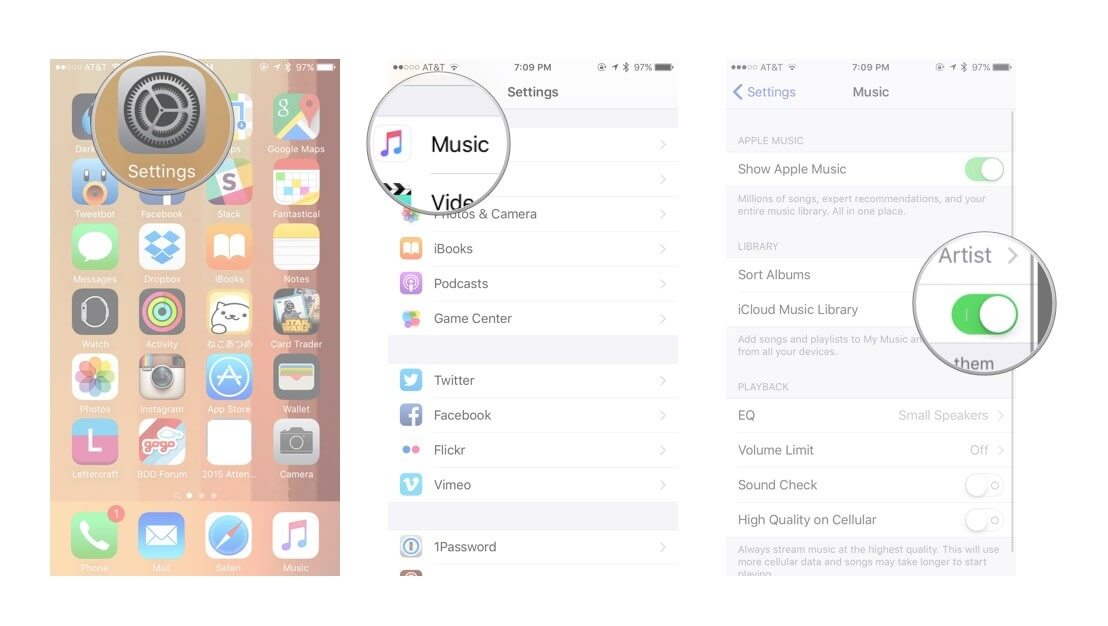
Think of iCloud as a musical bridge between your iPhone and iPad. It helps you move your favorite tunes effortlessly. Here's how to transfer iPhone music to iPad using iCloud:
Pros:
Cons:
Imagine iTunes as your personal DJ, smoothly transitioning your favorite tracks from your iPhone to your iPad. This classic method might require a bit more effort, but it's a reliable way to groove to your tunes on both devices.
Before anything else, ensure you have the latest version of iTunes installed on your computer.
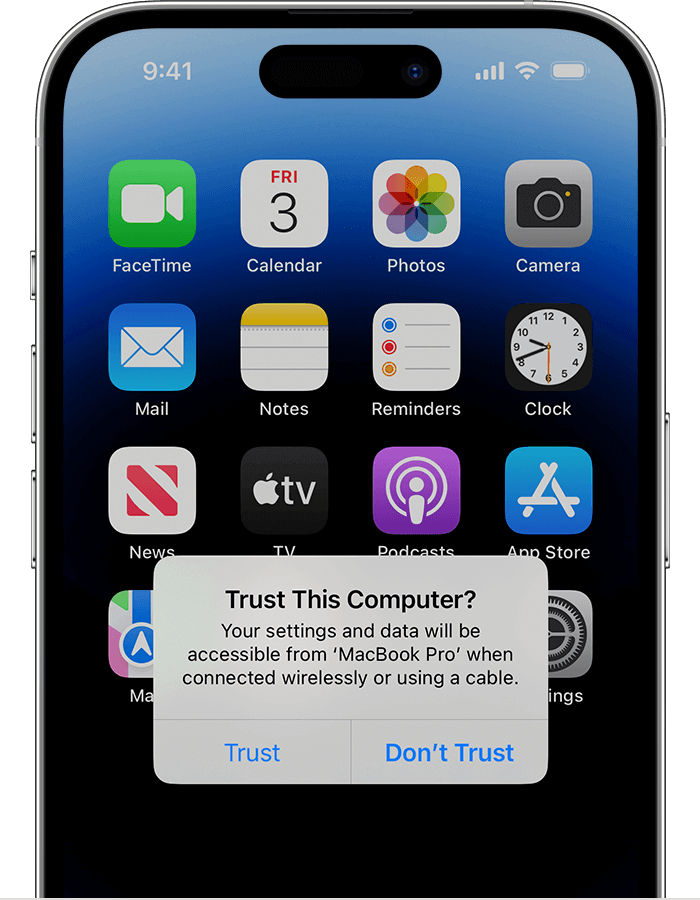
Connect your iPhone to your computer using a USB cable. Your computer might prompt you to "Trust This Computer" – go ahead and do so. Your iPhone should appear on iTunes.
In iTunes, click on the device icon representing your iPhone. On the left menu, find "Music". Check the box next to "Sync Music" and choose the songs, albums, or playlists you want to transfer.
Now, disconnect your iPhone and connect your iPad to the computer using the same USB cable. Just like before, your iPad will appear on iTunes.
Click on the device icon for your iPad. In the left menu, select "Music". Here, you can choose to sync your entire music library or specific selections from your iPhone.
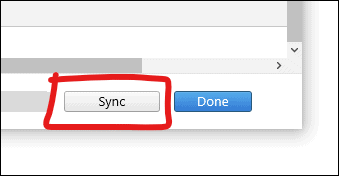
Hit the "Apply" or "Sync" button in iTunes. Your chosen melodies will make their way from your computer to your iPad.
Pros:
Cons:
Like a seasoned DJ, iTunes helps you transition your favorite tracks from iPhone to iPad. While it's a bit more traditional, it guarantees that your musical journey continues seamlessly. Now you have three methods in your playlist – each offering its own rhythm to transfer your tunes.
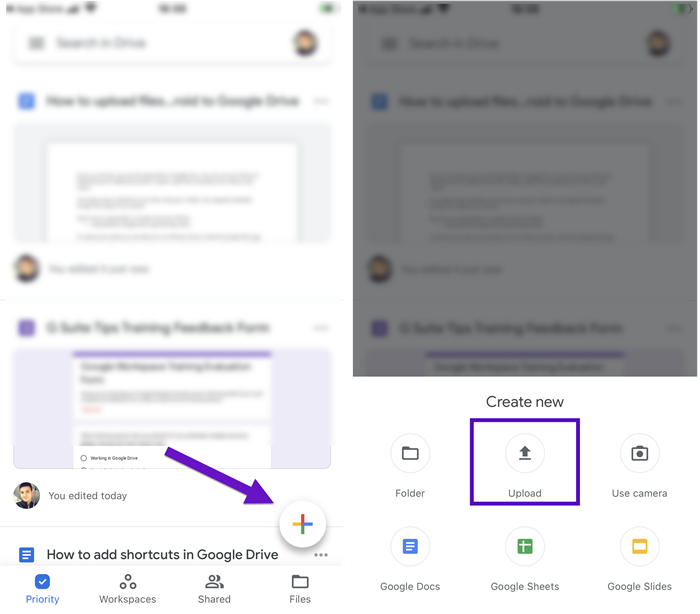
Google Drive is often used to transfer Google photos between different accounts. It can also help you move songs from your iPhone to your iPad. Here's how to transfer iPhone music to iPad using Google Drive:
Pros:
Cons:
Just like a backpack carrying your music, Google Drive helps you take your tunes wherever you go – from iPhone to iPad. Now you've got another method to jam out to your favorite tracks on both devices. That’s very easy to implement, right?
In our digital age, where music sets the rhythm of our lives, transferring cherished melodies seamlessly between devices is a quest that requires the perfect duet of simplicity and efficiency.
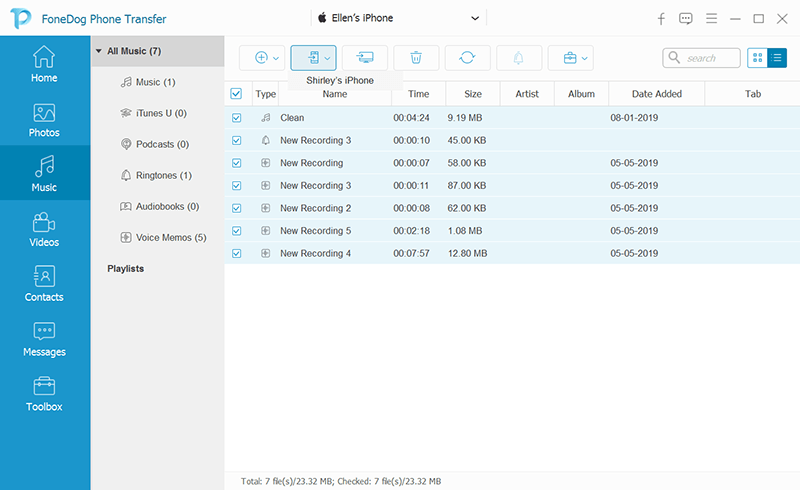
Enter FoneDog Phone Transfer, a melody maestro that harmoniously orchestrates the transfer of your beloved iPhone music to your iPad. In this segment, we'll dive into the symphonic capabilities of FoneDog Phone Transfer, an iPhone 15-supported tool, unlocking the doors to effortless cross-device musical migration.
Phone Transfer
Transfer files among iOS, Android and Windows PC.
Transfer and backup text messages, contacts, photos, video, music on computer easily.
Fully compatible with the latest iOS and Android.
Free Download
FoneDog Phone Transfer is a modern-day virtuoso, designed to simplify the way to transfer iPhone music to iPad. With its user-friendly interface and powerful features, this tool promises a sonorous transfer experience without the hassle of complex maneuvers.
People Also Read2023 Fixed: How to Transfer Music from Computer to iPhone without iTunes?2023 Guide: How to Transfer Music from Mac to iPhone?
As technology continues to evolve, new methods might arise, each adding a unique timbre to the melody of transferring music across devices. It's a testament to the ever-changing cadence of innovation that allows us to continue exploring and discovering new ways to harmonize our digital lives.
As we wrap up this part of the journey, FoneDog Phone Transfer shines as a conductor of melodies, effortlessly to transfer iPhone music to iPad. With its simplicity and effectiveness, FoneDog Phone Transfer plays its part in making your musical migration a seamless experience. Use FoneDog Phone Transfer today!
Leave a Comment
Comment

iPhone/Android Devices’ Maintenance Expert
Staying home, listening to music, writing tech articles
Many people asked me to repair their mobile phones so I have a lot of experience in mobile phone repair, and I know a lot about Android or Apple phones.
Phone Transfer
Transfer data from iPhone, Android, iOS, and Computer to Anywhere without any loss with FoneDog Phone Transfer. Such as photo, messages, contacts, music, etc.
Free DownloadHot Articles
 /
/
INTERESTINGDULL
/
SIMPLEDIFFICULT
Thank you! Here' re your choices:
Excellent
Rating: 4.8 / 5 (based on 98 ratings)